
Start With the Right File Format And Page Setup
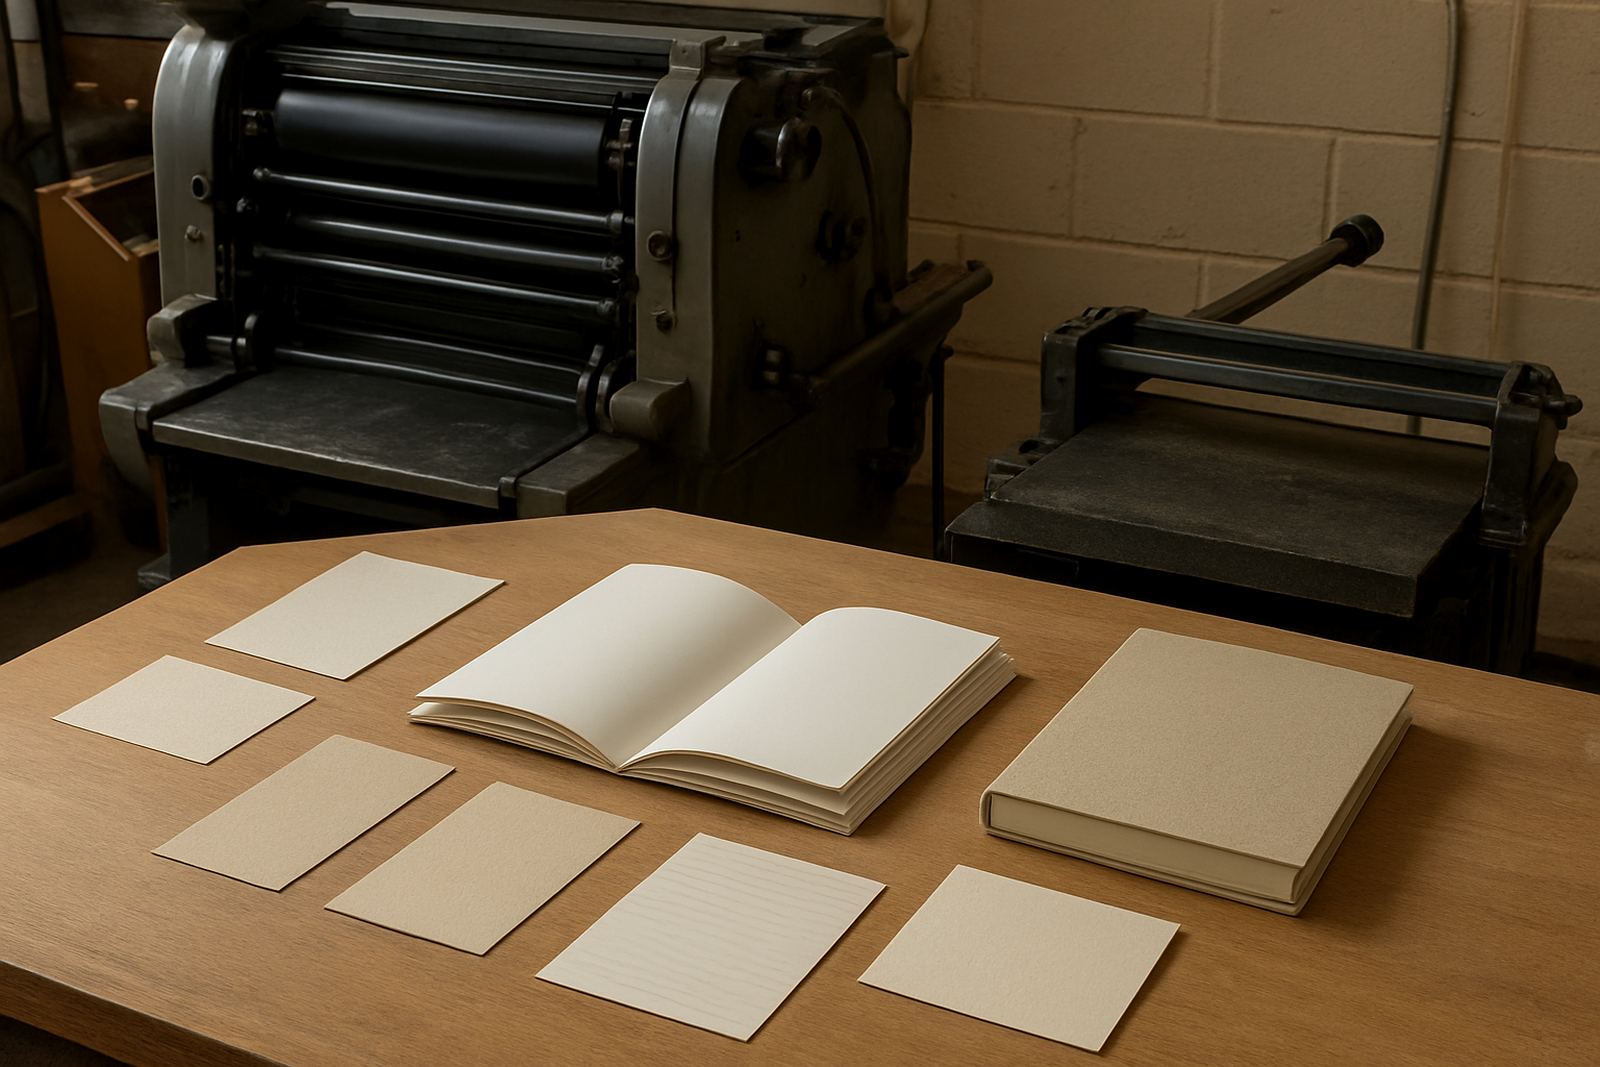
The first check is simple: make sure the file is built for print, not just for viewing on screen. PDF is usually the safest format when pages are complete, and all pages should be supplied in the correct order with the right trim size. If your book is A5, keep it A5 throughout. If the magazine is 210 mm x 297 mm, do not change sizes halfway through the document. That sounds basic, but it is where many avoidable delays begin.
Set up bleed correctly, usually 3 mm on all sides unless your print team asks for a different allowance. Keep important text and page numbers inside a safe margin so nothing gets cut off during trimming. Check that facing pages are set correctly for books and magazines with spreads, and confirm whether the printer wants single pages or imposed spreads. A file that is neat on screen can still break in press if the page setup is off by a few millimetres.
- Confirm the final trim size
- Include 3 mm bleed, or the required allowance
- Keep live text away from trim edges
- Submit pages in the correct order
Check Images, Resolution And Colour Use
Low resolution images are one of the quickest ways to weaken a printed publication. For most books and magazines, images should be 300 dpi at final size. If you are enlarging a picture, check the effective resolution rather than the original file size. A small image stretched across a full page will soften, and once it is on paper there is no way to sharpen it later.
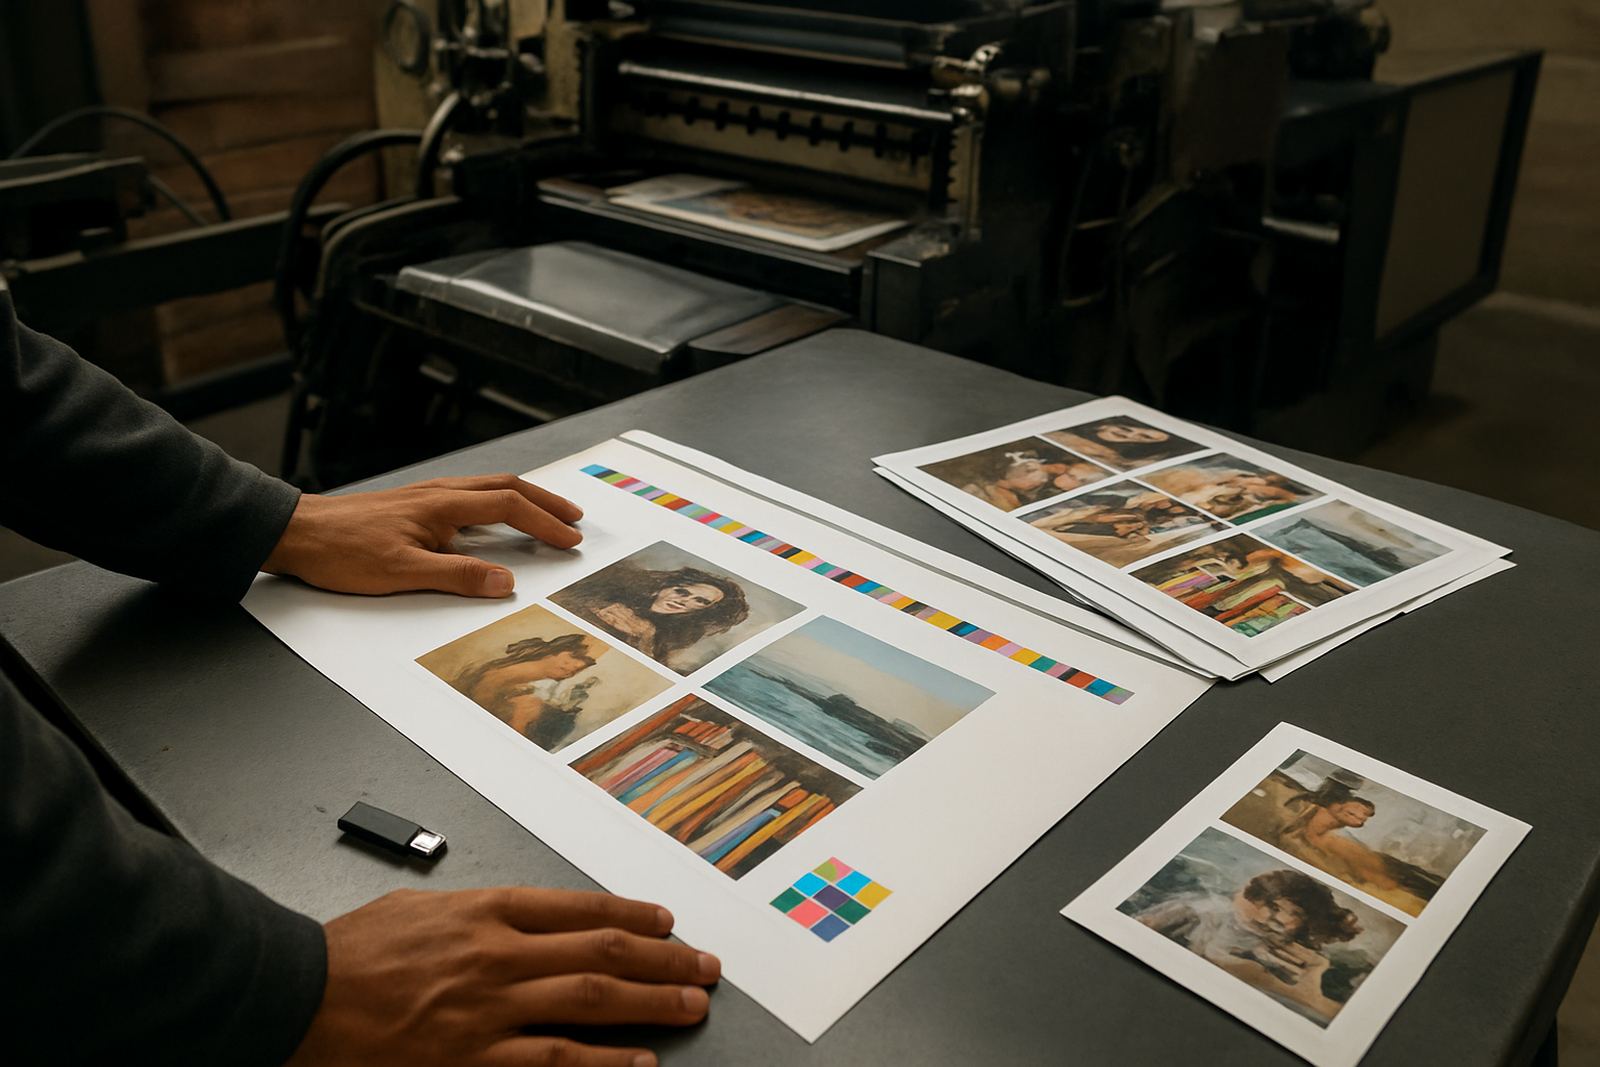
Colour handling matters just as much. For offset work, files should usually be in CMYK, not RGB, unless the printer has asked for a specific workflow. Spot colours must be named clearly and used only where needed. If your publication includes logos, charts, or brand pages, ask for colour proofing so the team can compare the output against the intended result. On long runs, especially in humid coastal areas, colour shifts can show up if the file setup is sloppy or if the paper stock is not suitable.
- Use 300 dpi images at final size
- Convert files to CMYK where required
- Check spot colour names and usage
- Review image sharpness on every full-page visual
Fonts, Links And Hidden File Problems
Text problems often hide in the small details. Before submission, make sure all fonts are embedded or outlined where required. If the file uses unusual typefaces, missing fonts can trigger line breaks, changes in spacing or unwanted substitutions. Headings may still look fine on one computer but shift when opened elsewhere, which is a common issue in prepress.
Also check linked images, missing artwork and broken file paths. A file may open without obvious warnings, yet still carry a missing logo or low-quality picture deep inside the document. Run a final preflight check and read the report properly. Look for overset text, hidden layers, locked items, image warnings and spelling errors. It is worth the extra few minutes. One lost caption in a 64-page magazine can cause a costly reprint, and nobody wants that.
- Embed or outline fonts as required
- Check for overset text and missing images
- Remove hidden objects that should not print
- Run a spell check before sending files
Pages For Binding Need Extra Care
The way a publication is bound affects the way it should be prepared. Saddle stitched books need page counts in multiples of four, while perfect binding and case binding need cover and spine details checked very carefully. If your spine width is off, even by a little, the finished book can look untidy on the shelf. For thicker publications, allow for creep and inner margin adjustment so text does not disappear into the fold. It is one of those checks that shows up in the finished book.
For section sewing, confirm the sections, signatures and final page plan before production starts. If there are inserts, fold-outs or special finishes like foil or die cutting, they must be marked clearly on the file and in the job brief. Binding and finishing are not the place for guesswork. A clean print file helps the bindery team work faster, and it cuts down on rework later.
- Check page count against the binding method
- Allow for spine width on thicker books
- Mark inserts, fold-outs and special finishes
- Confirm cover and text page alignment
Proof, Mark Up And Approve Before Press Time
A proof is not just a formality. It is the last chance to catch mistakes before the job moves onto press. Read every page, including captions, page numbers, contents pages and acknowledgements. Check that the cover title matches the inner pages, and that the edition, date and author details are correct. If you are handling a magazine or catalogue, pay attention to adverts supplied by different teams because they often arrive in mixed formats.
Where possible, ask for a colour proof or a final PDF proof and compare it against the source material line by line. Note any corrections clearly and return them in one round if you can. Too many small change requests can slow the job down, especially during load-shedding windows when press time is tight. Clear approval keeps the schedule moving and helps the production team plan finishing, packing and dispatch.
Prepress Checklist For Submitting Cleaner Files
Use this final checklist before you submit your job. It works well for books, magazines, catalogues and other print pieces sent to Johannesburg or delivered nationwide. If every item below is in place, the prepress team can focus on quality rather than fixing basic errors.
- Final file in PDF format, unless another format was requested
- Correct trim size and page order
- Bleed, margins and spine details checked
- Images at 300 dpi and in the correct colour space
- Fonts embedded, outlined or approved
- Links, captions and page numbers verified
- Binding method confirmed with the right page count
- Special finishes clearly marked
- Proof read and signed off by the right person
If your team needs a practical handover, keep one person responsible for the final file and one person responsible for approval. That avoids mixed instructions and saves time for everyone. In a busy print schedule, clarity is worth more than another round of changes.