
Why bleed matters when the guillotine comes out
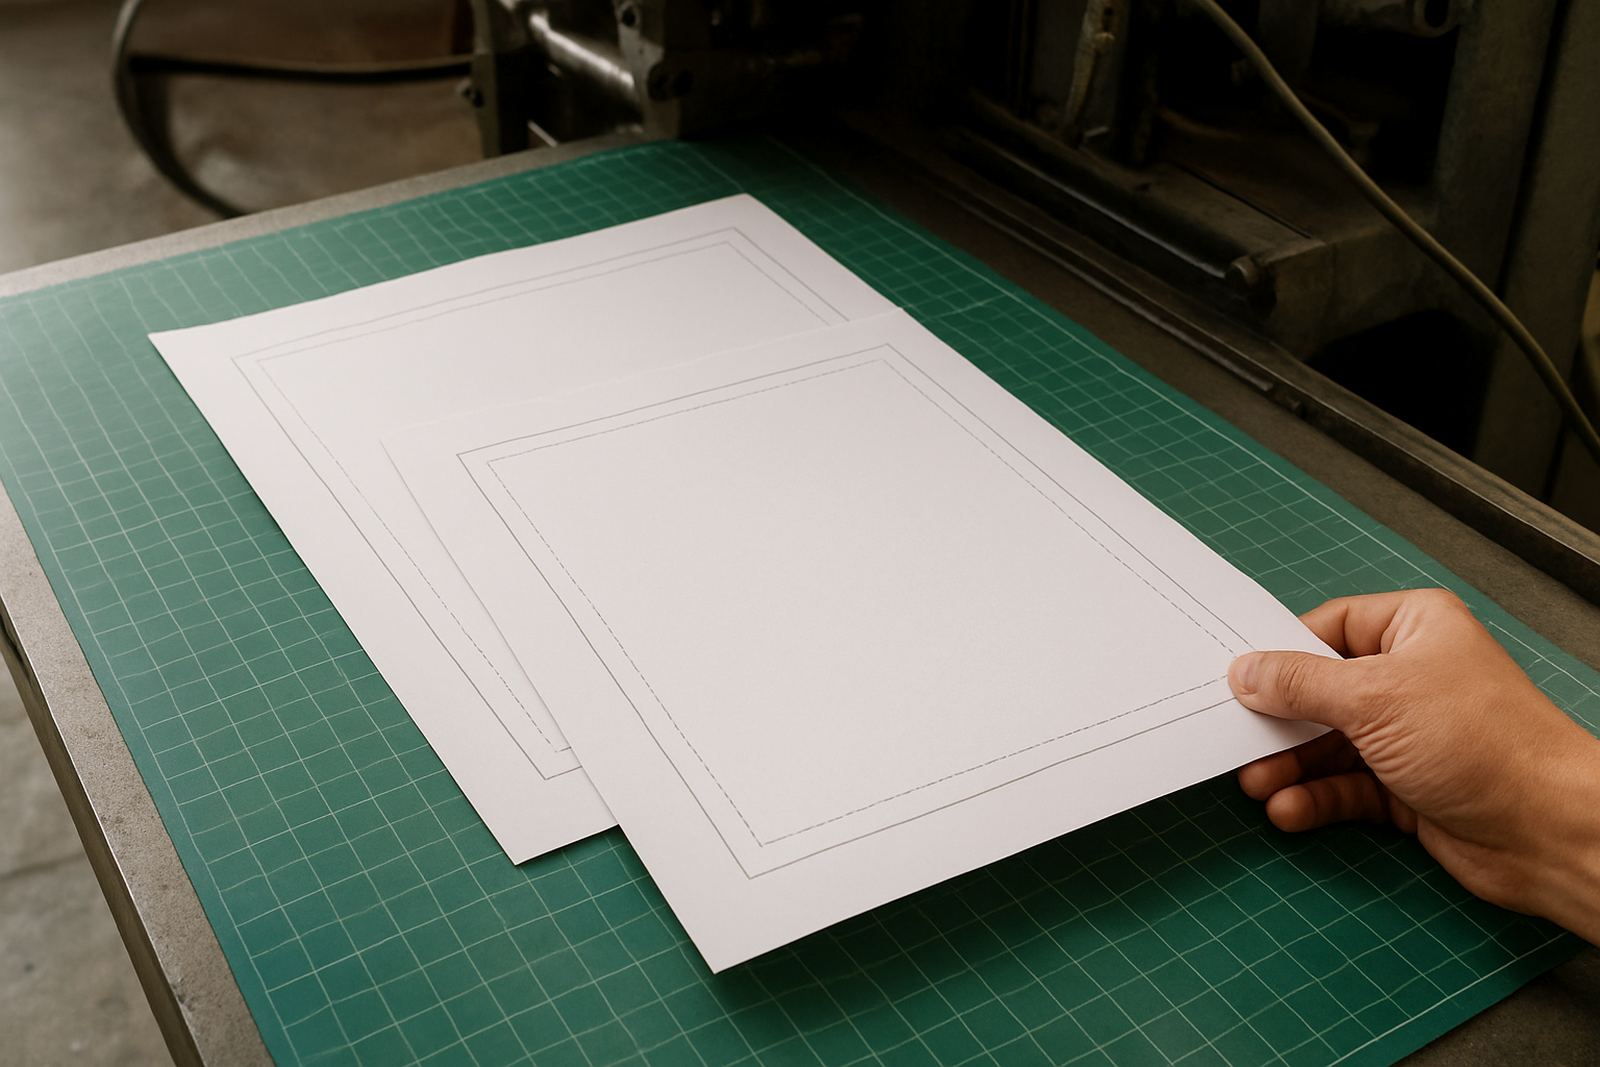
Bleed is the extra image or colour that runs past the trim line so the cutter can remove the edge without leaving a white hairline. In print, paper moves a little, cutting shifts by a fraction, and that is enough to show a fault if the page was set too tight. This is why bleed is not a design extra, its part of the production file.
For most books and magazines, 3 mm bleed on all sides is standard, though some projects need more depending on the trim size and finishing. If a cover has a full bleed photograph or a coloured background, the image must extend beyond the trim area on every side. A page that looks fine on screen can fail at the bindery if the bleed was forgotten.
- Extend all background colour and edge-to-edge images past the trim line
- Keep important text and logos away from the cut edge
- Check bleed on both inner pages and covers, especially when spine work is involved
Margins protect the live area inside the page
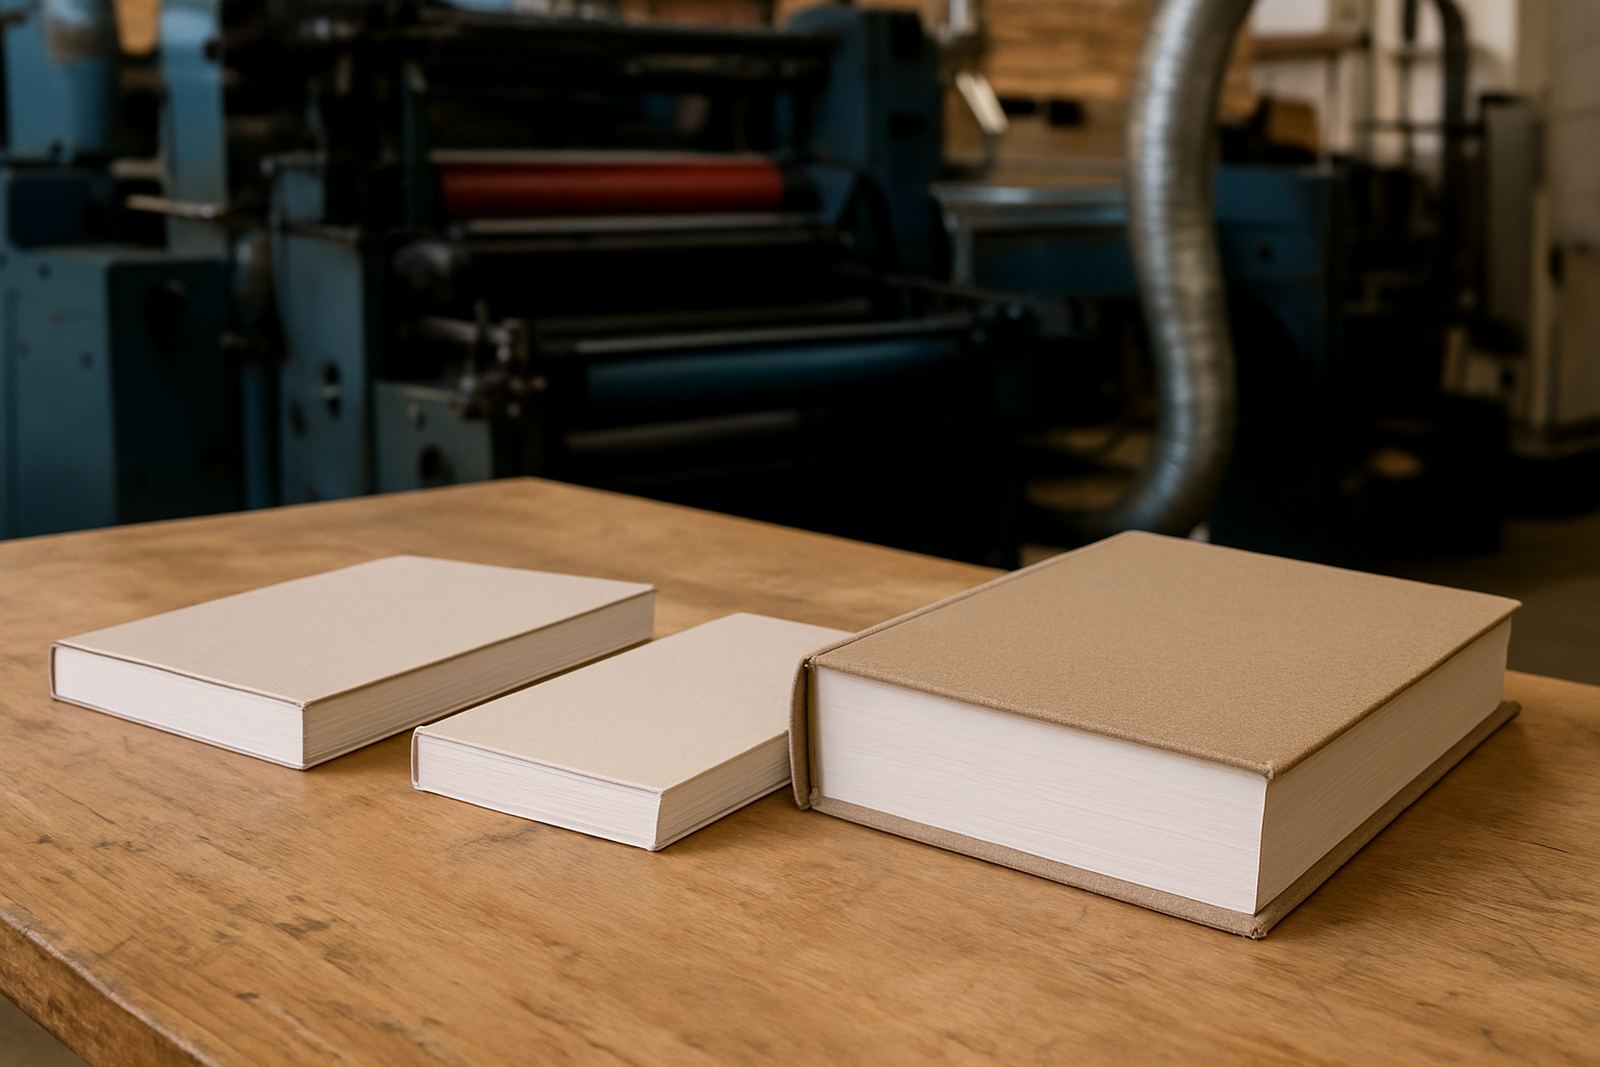
Margins are the safe space between the trim edge and the content that must remain visible after cutting and binding. They are there to protect body text, folios, headings and captions from being lost in trimming or swallowed in the spine. In a perfect bound book, the inner margin usually needs to be wider than the outer margin because the pages bend into the glue spine.
When margins are too narrow, the page can look cramped and the text may sit uncomfortably close to the edge. On stitched books, narrow margins also make folding and trimming less forgiving. We often see this on short-run magazines from Sandton or Randburg where the artwork looks neat on the screen but becomes tight once folded, stitched and trimmed.
A practical rule is to build enough breathing room for the trim, the fold, and the way the book opens. If the project will be sewn or case bound, allow extra on the spine side so the page opens comfortably. It is a small adjustment now but a big difference in the finished piece.
Different bindings need different safety space
The right margin depends on the binding style, the page count, and how the publication will be handled. A saddle stitched brochure does not behave like a 200 page case bound annual report. If the layout is treated the same, the inner pages can creep, the gutter can close up, and the most important line of text may disappear into the fold.
At Printing House, we check files for the binding method before production starts. That means looking at the page count, trim size, paper weight and final use. A magazine for a Pretoria school group has different needs from a glossy product catalogue going to retailers across Johannesburg Central and Midrand. Coastal humidity can also affect paper movement during storage, so the stack should be packed and kept flat until dispatch.
- Saddle stitching: allow enough inner margin and watch page creep on thicker publications
- Perfect binding: widen the gutter because the spine will take up space
- Case binding: plan for even more inner space and careful text placement near the hinge
- Section sewing: check that images and captions do not vanish into the fold
Common layout mistakes that cause reprints
Most bleed and margin problems come from simple oversights. Someone sets up the file from a screen mock-up, saves it as a PDF, and only spots the error after proofing. In a busy print week that mistake can delay dispatch to Durban, Polokwane or Cape Town by days.
The usual trouble spots are edge-to-edge images that stop at the trim line, page numbers placed too close to the edge, and coloured boxes that end before the cut. Another issue is when the designer uses inconsistent margins from page to page, which makes the publication feel uneven. If a cover has foil finishing or die cutting, the clear zones must be checked carefully because decorative elements can collide with trim or folds.
- Missing bleed on cover art and back cover wraps
- Text or logos sitting inside the trim danger zone
- Forgetting the inner margin shift on thicker books
- Not allowing for page creep on stitched publications
A Johannesburg example from artwork to packing
Picture a 64 page magazine being produced in Industria for a business in Johannesburg Central. The front cover uses a full page image with colour right to the edge, the inside pages have interviews and product shots, and the client wants a clean stitched finish for a conference handout. If the bleed is only set on the front cover, but not on the inside spreads, the cutter may expose a white edge on one of the page runs.
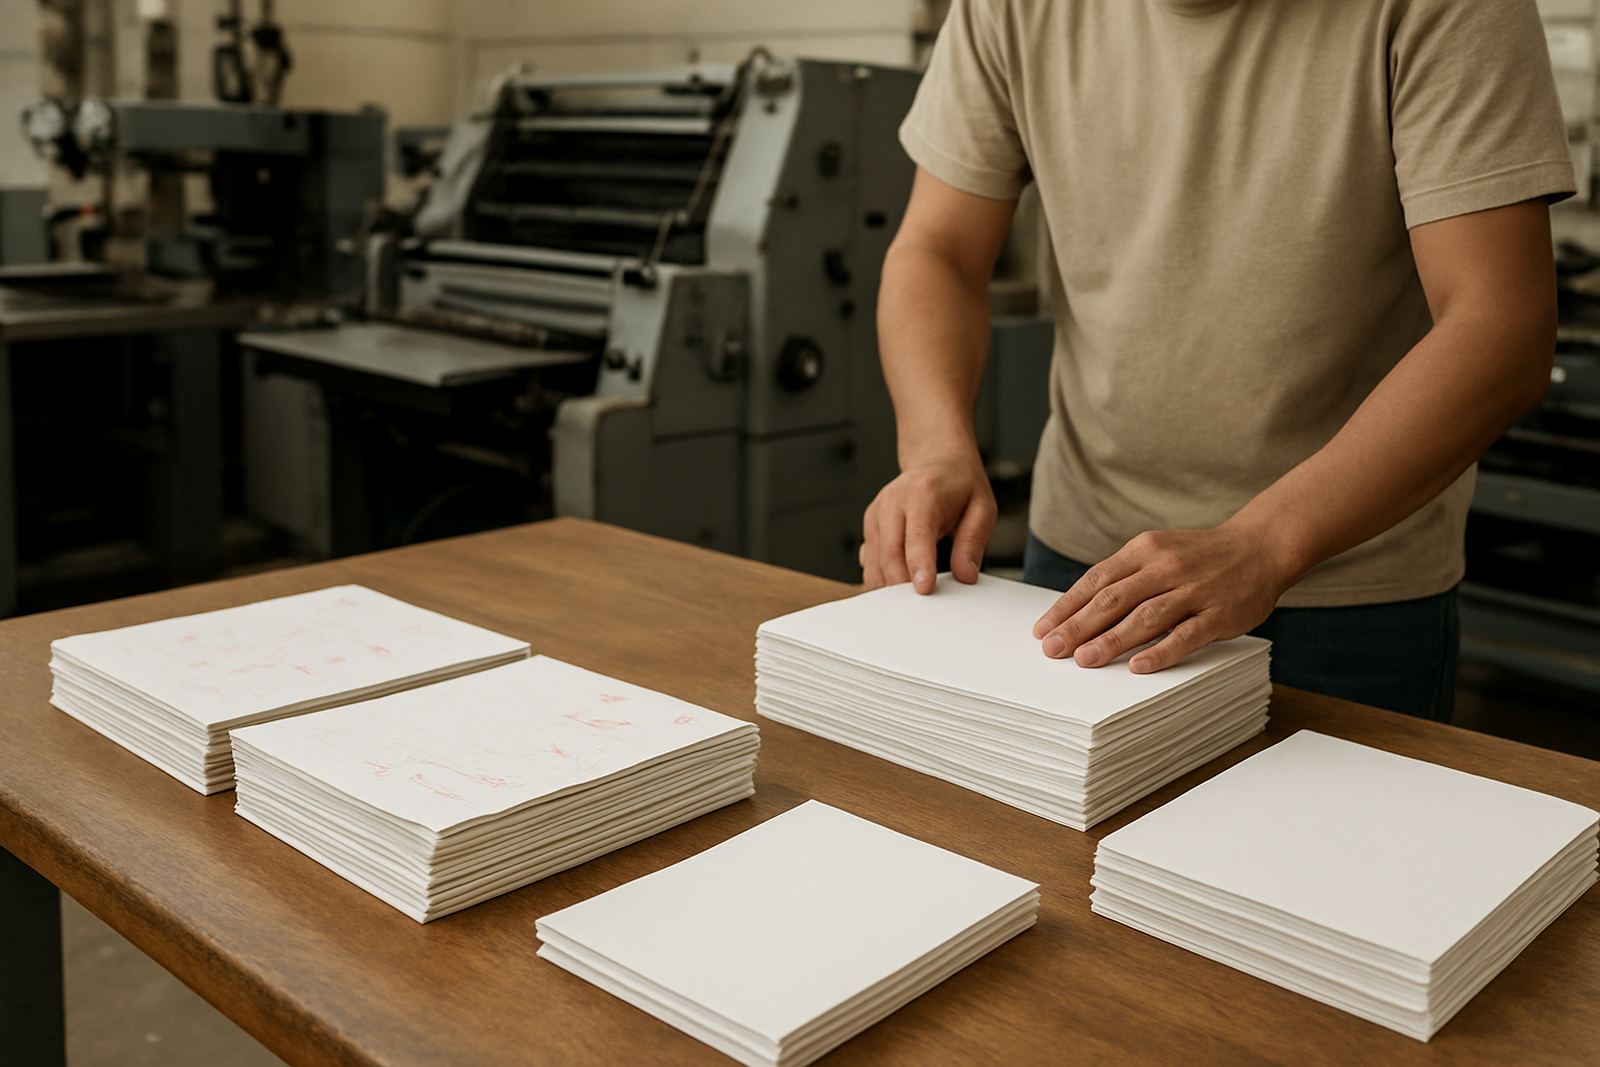
Now add the practical side. The files need prepress checks, colour proofing and a final review before offset printing starts. Once printed, the sheets move to folding, saddle stitching, trimming, packing and dispatch. If the margins are too tight on the inner pages, the reader loses text near the centre fold. If the bleed is missing, the job can be held back while corrections are made. That costs paper, machine time and sometimes a delivery slot to Sandton or Roodepoort.
Simple file checks before you send artwork
Most bleed and margin errors can be avoided with a quick preflight before the file leaves your office. It helps to check the page size, bleed settings, safe area and binding type together instead of one by one. If the publication has charts, pull quotes or small footnotes, give them extra room because they are the first items to suffer when a trim is slightly off.
Use a ruler view in your layout software, export a proof PDF and inspect the edges before submission. For multi-page books, check that the margins repeat correctly across left and right pages. For covers, make sure the spine width matches the page count and paper stock. It is easier to catch a mistake at file stage than after the sheets are printed and folded.
- Confirm trim size, bleed and safe area on every page
- Set wider inner margins for perfect bound and case bound books
- Check page creep on stitched magazines with higher page counts
- Review covers separately from inside pages because they often need different settings
Why careful margin work saves money on every print run
Good bleed and margin planning protects the print budget. It reduces spoilage, avoids corrective reprints and gives the bindery a cleaner job to work with. For publishers sending work nationwide, that matters because one error can affect not just production but also packing, courier timing and launch dates. When the layout is correct, the job moves through the factory with fewer holds and less back and forth.
Printing House works with books, magazines and bound publications from Industria to clients across South Africa, and we see the same pattern every week. The projects that run best are the ones where the artwork is prepared with the final trim and binding in mind from the start. A few millimetres of planning can save a lot of stress later.